Week 3 – Improving tracking and research

MARCH 4 → MARCH 7 – 2024

Tasks

Client Meetings

  • Meeting with our client on Monday
    • Presenting him with a new feature

Technical Developments

  • Implementing custom panel per client’s request (see video below)
    • Allowing user to control scale and vertical offset from the marker
    • Received positive feedback from the client
  • Second prototype (multiple markers and moving models, see video below)
    • Implementing multiple marker tracking
    • Implementing a constantly moving object to showcase spatial capabilities. (code below)

Miscellaneous

  • Catching up on weekly blogs.

Double Diamond

This week was primarily focused on further developing the first prototype by adding in several new features such as moving objects, multiple object tracking and modifying their scale and offset.

At the end of the week I also researched Geo Location to see if that was feasible for our project.

Discover

Did research into Geo Location and modifying instantiated models that follow the marker. This was necessary to fullfil the client’s request.

Geo Location looked like a solid solution for our project as we could set a ‘hard’ location for the markers and would therefor not need the images anymore.

Define

Eventually research showed that Geo Location was not feasible due to the precision that is necessary for it to work on small distances, something that is simply not possible at this moment in time.

I decided on a simple (dirty) method of implementing the features requested by the client. This ultimately would not lead to scalability and would have to be redone later, but for now it showcased the AR capability quite well.

Develop

Further advanced the first prototype as described above. Now including a changeable scale and offset, offering multiple markers being tracked as well as showcasing the spatial capabilities.

Deliver

The prototype was posted as a release on our GitHub. It contains all features mentioned previously.

Plan

Next week’s plan is to work on basic interaction, first of which will be ‘trash picking’. This should simply be basic shapes that can be clicked to see them be collected and award a score.


Research

This week I did some research into Geo Location, but ultimately decided it was not feasible.


Reflection

This third week went by in rapid fashion, I am very happy with the progress I made and managing to add all requested features quite quickly.

I have started to notice that the way the project is currently set up is not scalable at all and will need some rework done. Sooner rather than later.

Media & code

Showing the testpanel capabilities, modifying scale and offset.
Showcasing multiple models being tracked on screen.
Adding constant movement and rotation to a sample object.
protected void FixedUpdate()
    {
        float verticalMovement = Mathf.Sin(Time.time * 1f) / moveSpeed;
        float rotation = Time.time * rotationSpeed;

        Transform child = transform.GetChild(0).transform;

        child.localPosition = new Vector3(0, verticalMovement, 0);
        child.localRotation = Quaternion.Euler(0, rotation, 0);
    }
Learning Goals

Learning about User Experience (UX) in Augmented Reality (AR)

During the next five months I plan on acquiring knowledge on AR user experience design principles, interaction patterns, and user feedback methodologies. I will read relevant research papers and perform multiple tests for the user experience. This goal aligns with the project’s objective of developing an AR application for a Jewish museum, ensuring the gained knowledge is applicable to the full project.

Developing a framework to be used in AR

During the next three months I plan on creating a comprehensive base for an AR application that supports placing a cube on a detected image. I will produce a detailed document outlining the framework’s components, supported by at least one prototype. I have picked up on programming skills and will learn about AR development tools, combining theoretical knowledge with practical application. The framework development directly contributes to the project’s overarching goal of creating a usable and effective AR experience. I aim to complete the framework development and initial prototype by the end of the third month, allowing the rest of the time for testing and refinement.

Developing interaction within an AR space

During the next five months I will further develop the aforementioned framework to implement interaction with the placed objects. For this I will deliver at least one prototype that uses multiple interactable objects (3>) with which the user can interact. By using my existing programming knowledge and expanding upon it through the form of tutorials I will make sure to achieve the best possible. The development is necessary for the completion of the project. I will work on this for four months after which I have one month for testing, feedback and improvements.

Establishing effective communication with the client

During the whole semester I will make sure to communicate effectively with the client. This will be through design updates during our bi-weekly meetings. Using channels like Discord and e-mail I will stay in touch and be prepared to answer questions. Establishing clear communication is essential for project success ensuring that the developed solution aligns with their vision and requirements.

Week 2 – Learning goals and first prototype

FEBRUARY 26 → MARCH 1 – 2024

Tasks

Client Meetings

  • Meeting with our client on Monday
    • Learning about the Museum’s setup.
    • Learning about the pre-made script, concept and characters.
    • Another studio is developing the interaction.
    • Minor issues
      • Primarily related to proper roles and missing knowledge the client had of our studies.
    • Identifying the client’s goals; Teamwork, stepping out of our comfort zone and creating something new.
  • Meeting with our client on Friday
    • Agreed upon a direction for the project
    • Presented my first prototype for feedback

Technical Developments

  • Setting up Git
    • Set up protected branches to ensure safe use of version control.
    • Inviting all members and explaining the way of working with git.
      • Pull Request > Review > Merge with develop
  • First prototype (see video below)
    • Learning about Unity AR Foundation
    • Custom images for markers
    • Image tracking for markers

Miscellaneous

  • Writing up my learning goals by finding a balance between personal and client goals.

Double Diamond

This week was primarily focused on the development of our first prototype in Unity. For this I needed to do some research.

Discover

Did research into a feasible AR framework to use, this had to take into account several factors such as: a young audience, scalability, reliability and performance.

Define

Combining all these factors lead me to the use of image tracking, the so-called process where images (markers) are used to identify locations where an object can be placed. This ensures scalability, takes into account that a young audience can use it as it is very visible and easy to distinguish, and it is not too performance heavy, which is necessary for developing for tablets.

Develop

Created the first working prototype that does as described above, the models are placed according to the images detected. This also works in real life but we don’t have access to a phone capable of AR at this moment in time.

Deliver

The prototype was posted as a release on our GitHub. It contains a basic form of image tracking and shows a solid base for the rest of this project.

Plan

For the next week the plan is to implement a panel with rescaling and repositioning capabilities as well as getting our hands on an AR capable device as soon as possible to test the prototype. As well as generally advancing the prototype and improving it.


Research

During this week I mainly did research into AR development within Unity. For the development I used some tutorials to gain more insight into specific features.


Reflection

The second week went by quickly as I was very focused on the first prototype. I managed to get quite some things done and learned a lot about development in AR already. The client was happy with my progress and the teams as well so I can only be satisfied with this week.

Media

Initial prototype that shows objects being placed on corresponding images in a simulated AR environment.

Week 1 – Getting to know the project

FEBRUARY 12 → MARCH 15 – 2024


Tasks

  • Attending the project introduction
    • Filling in survey to form studios and generate project leads.
    • Assigning studio members to projects.
  • Preparing for project briefing
    • Researching the Golden Rule.
    • Researching previous Abner Preis Studios projects.
  • Attending the introductory meeting for our project
    • Meeting Abner Preis (our client).
    • Noting down important parts of the vision for the project.

Double Diamond

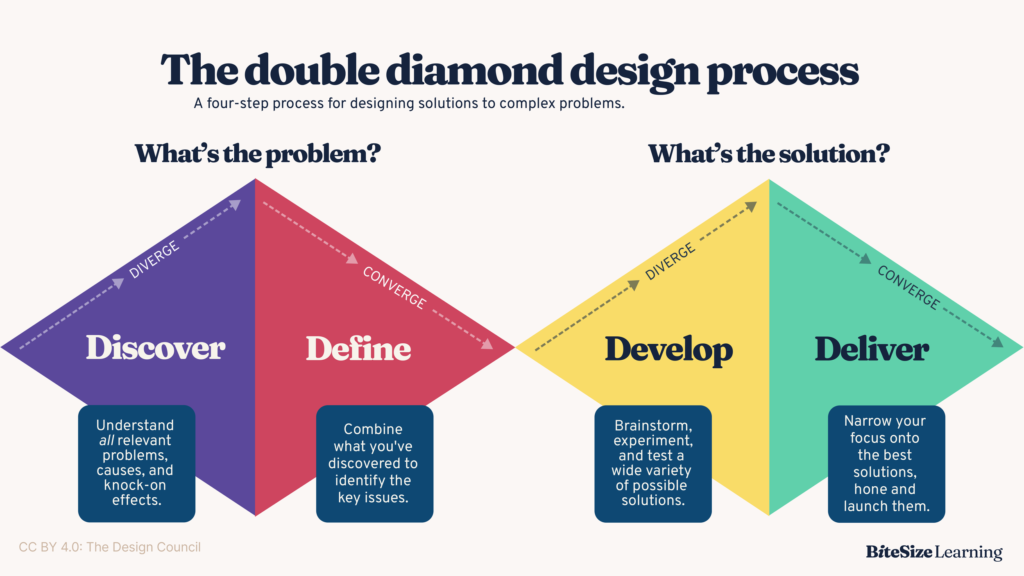
As we will be working in sprints and my role will mostly be a technical developer, more so than a designer, I have decided to use the following agile development framework.

Discover

Define

Develop

Deliver


Research

During this first starting week, we did research into the golden rule as well as projects previously made by our client to gain some insight.


Reflection

The first week was a slow start but definitely sparked some interest in each of us and we are eager to get to our hands dirty in the coming weeks.

Protected: IMT&S

This content is password protected. To view it please enter your password below:

City Building Card Game: Stadsbouer

The game can be found on itch.io. It is only a prototype and a mere proof of concept and because of that, there are still things missing and parts left unpolished.

I have worked on this game for around 6 weeks. Mainly focussing on the programming side of things this time around.

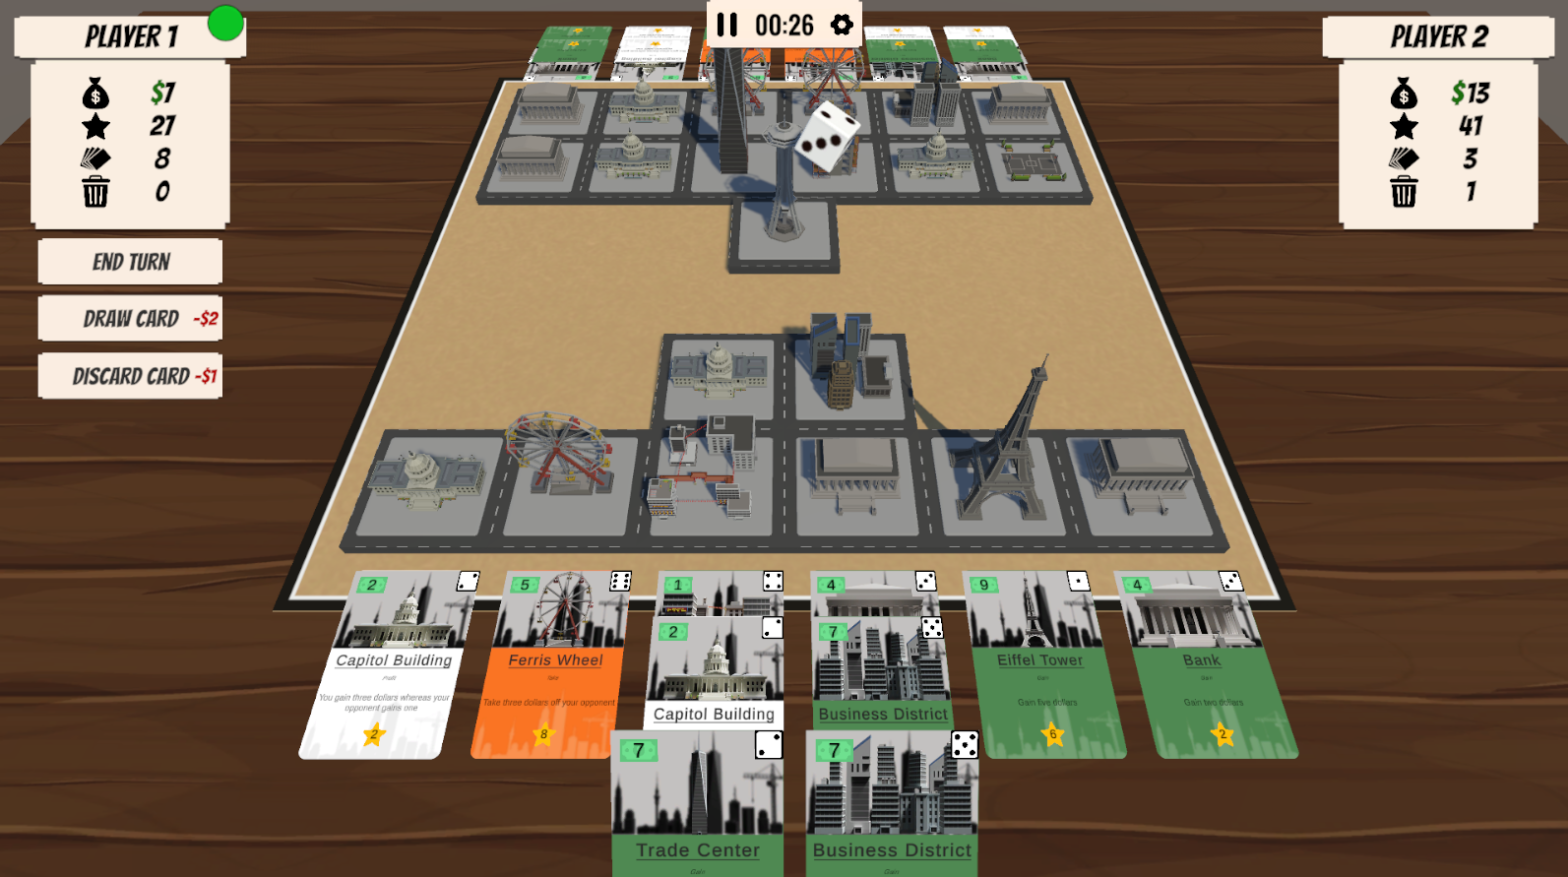
It all started with a very basic game concept, I wanted to combine the card game and city builder genres. This would be done in Unity, making use of local turn-based gameplay where the players could play cards and throw a dice to activate said cards.

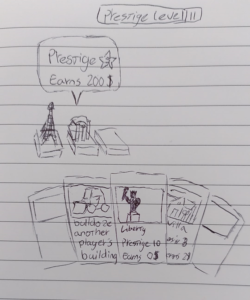
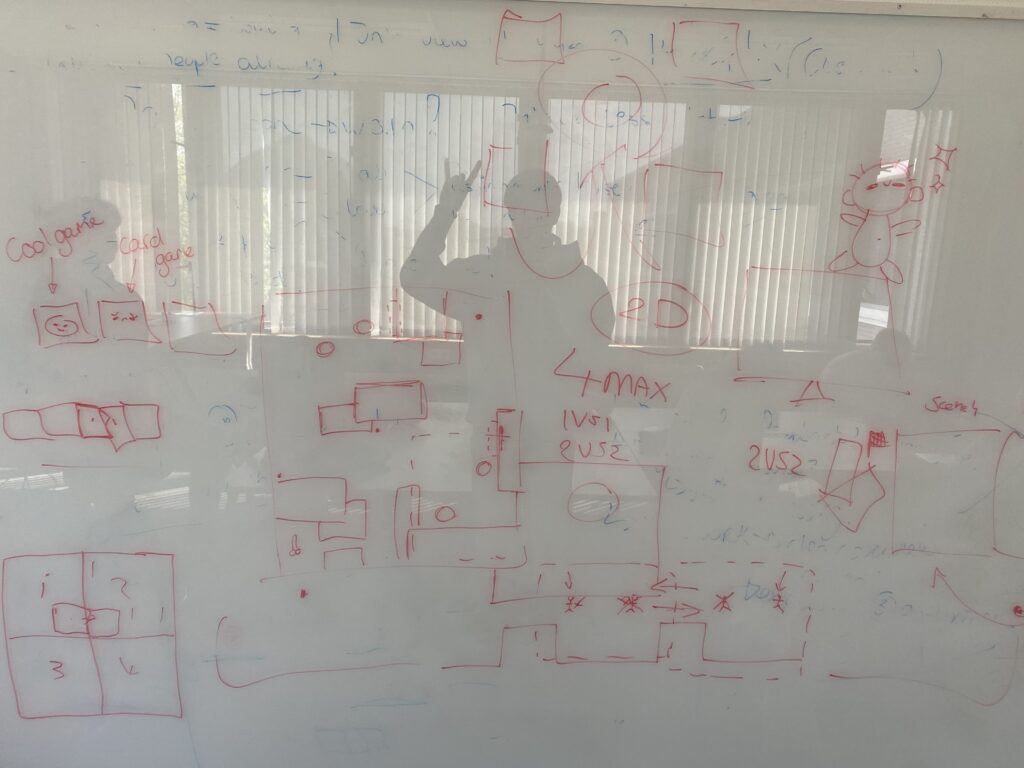
First gameplay sketch

The gameplay would be based around earning money through activating your cards/buildings which would then lead to more money etc.
I also thought of a prestige mechanic which is currently not being used but I plan on using it as a general currency to unlock more cards in the future.

The GDD can be found here.

Geometry Nodes in Blender

In the winter of 2022, I started working on Geometry Nodes in Blender. This topic looked really interesting to me and I had seen multiple artists creating the most beautiful models by using this feature in the correct way.

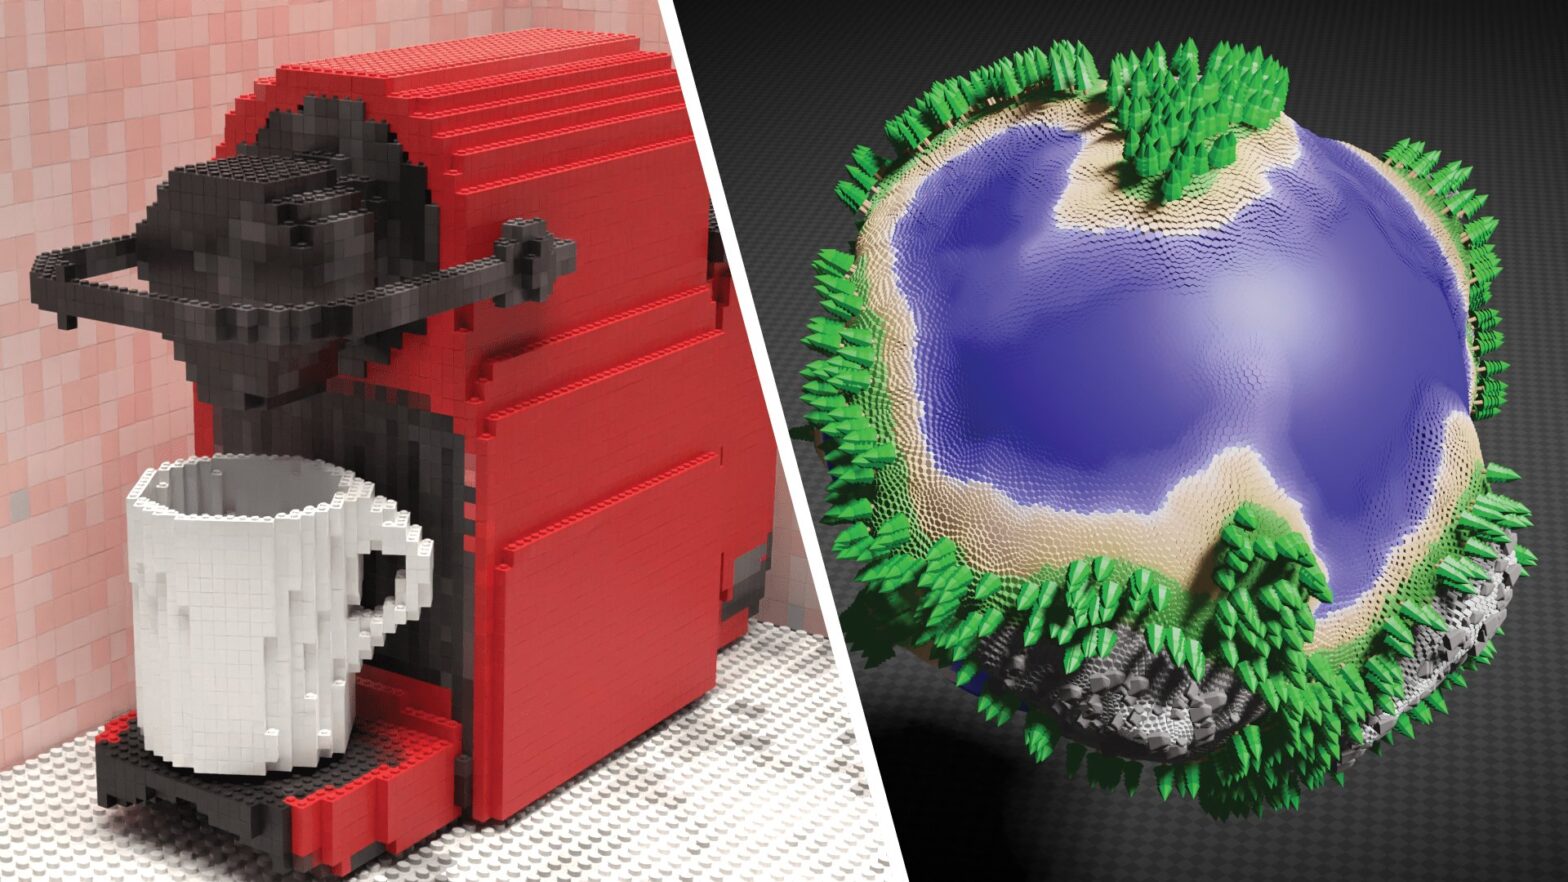
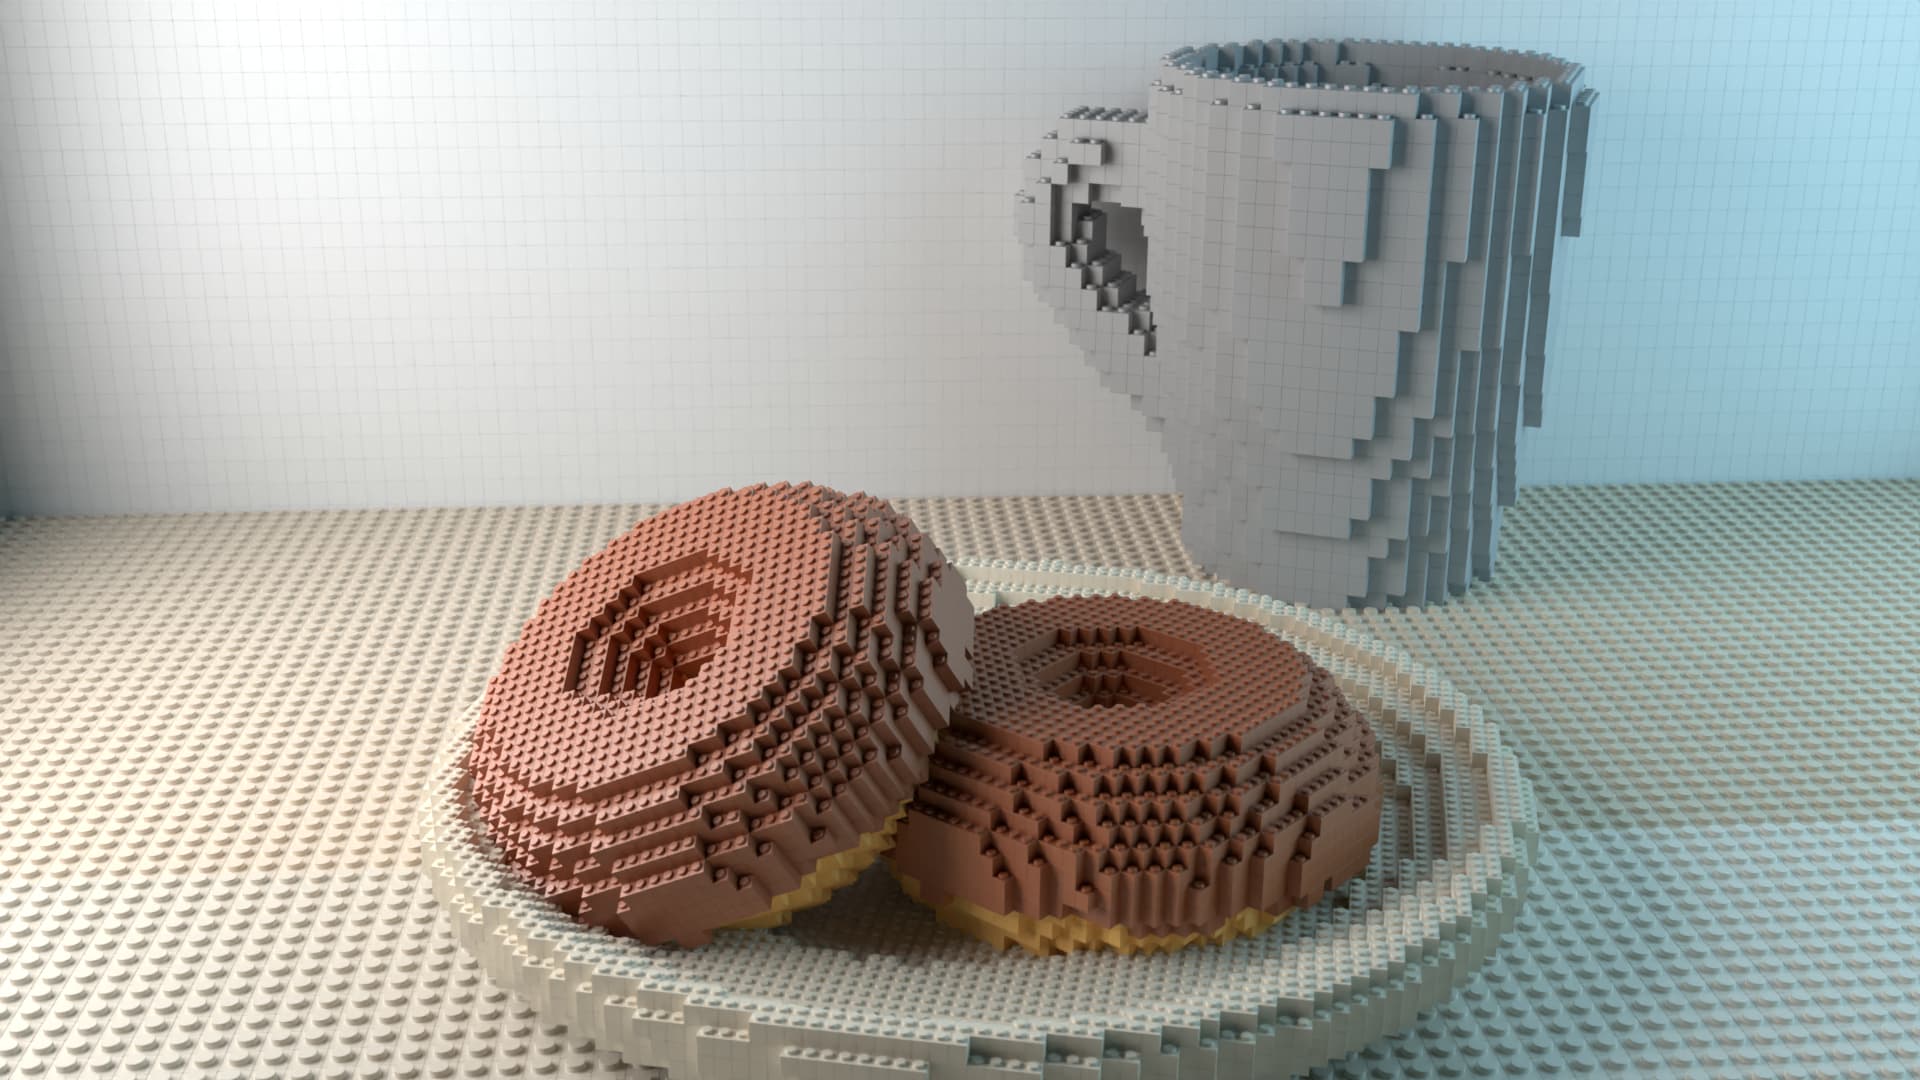
LEGO Geometry Node

Planet Generator Node

When I make my way through more nodes they will be on this page.

LEGO Geometry Node

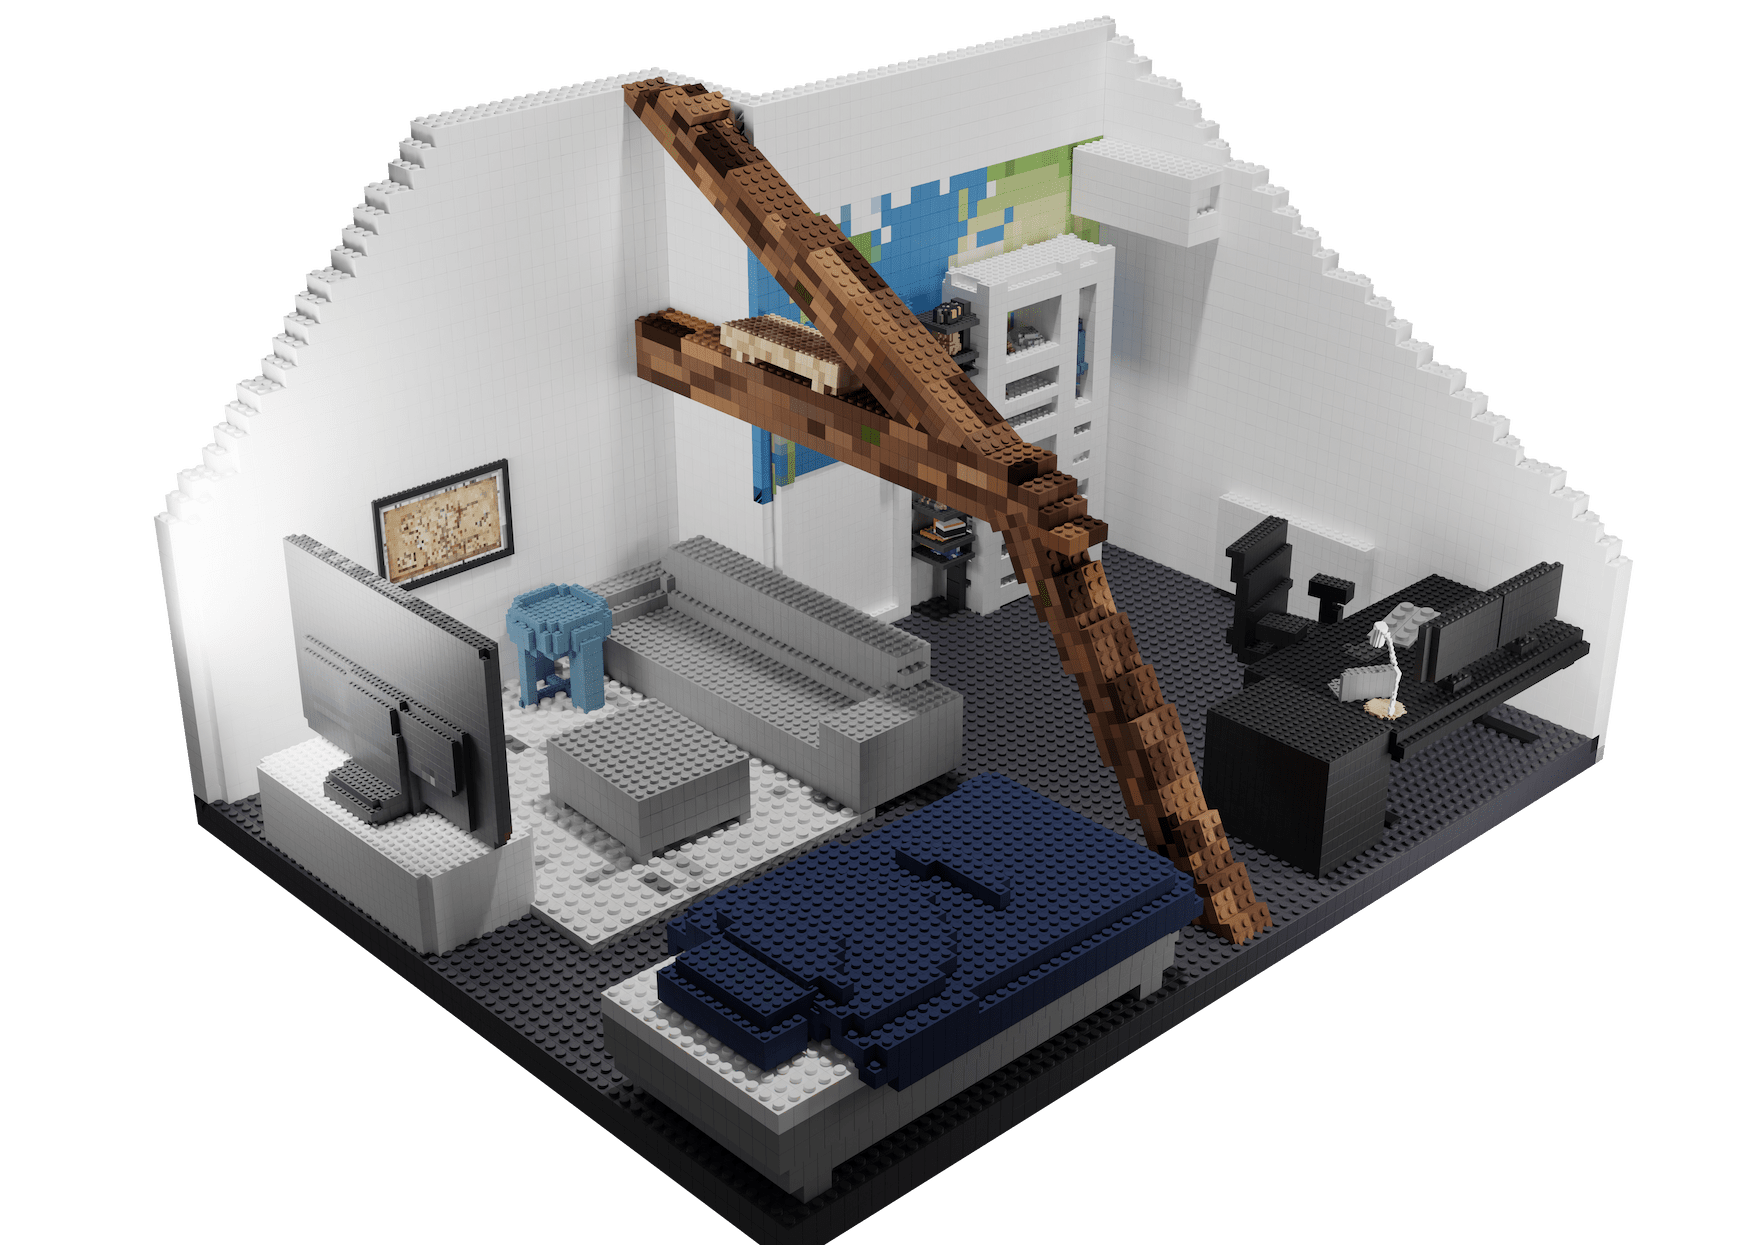
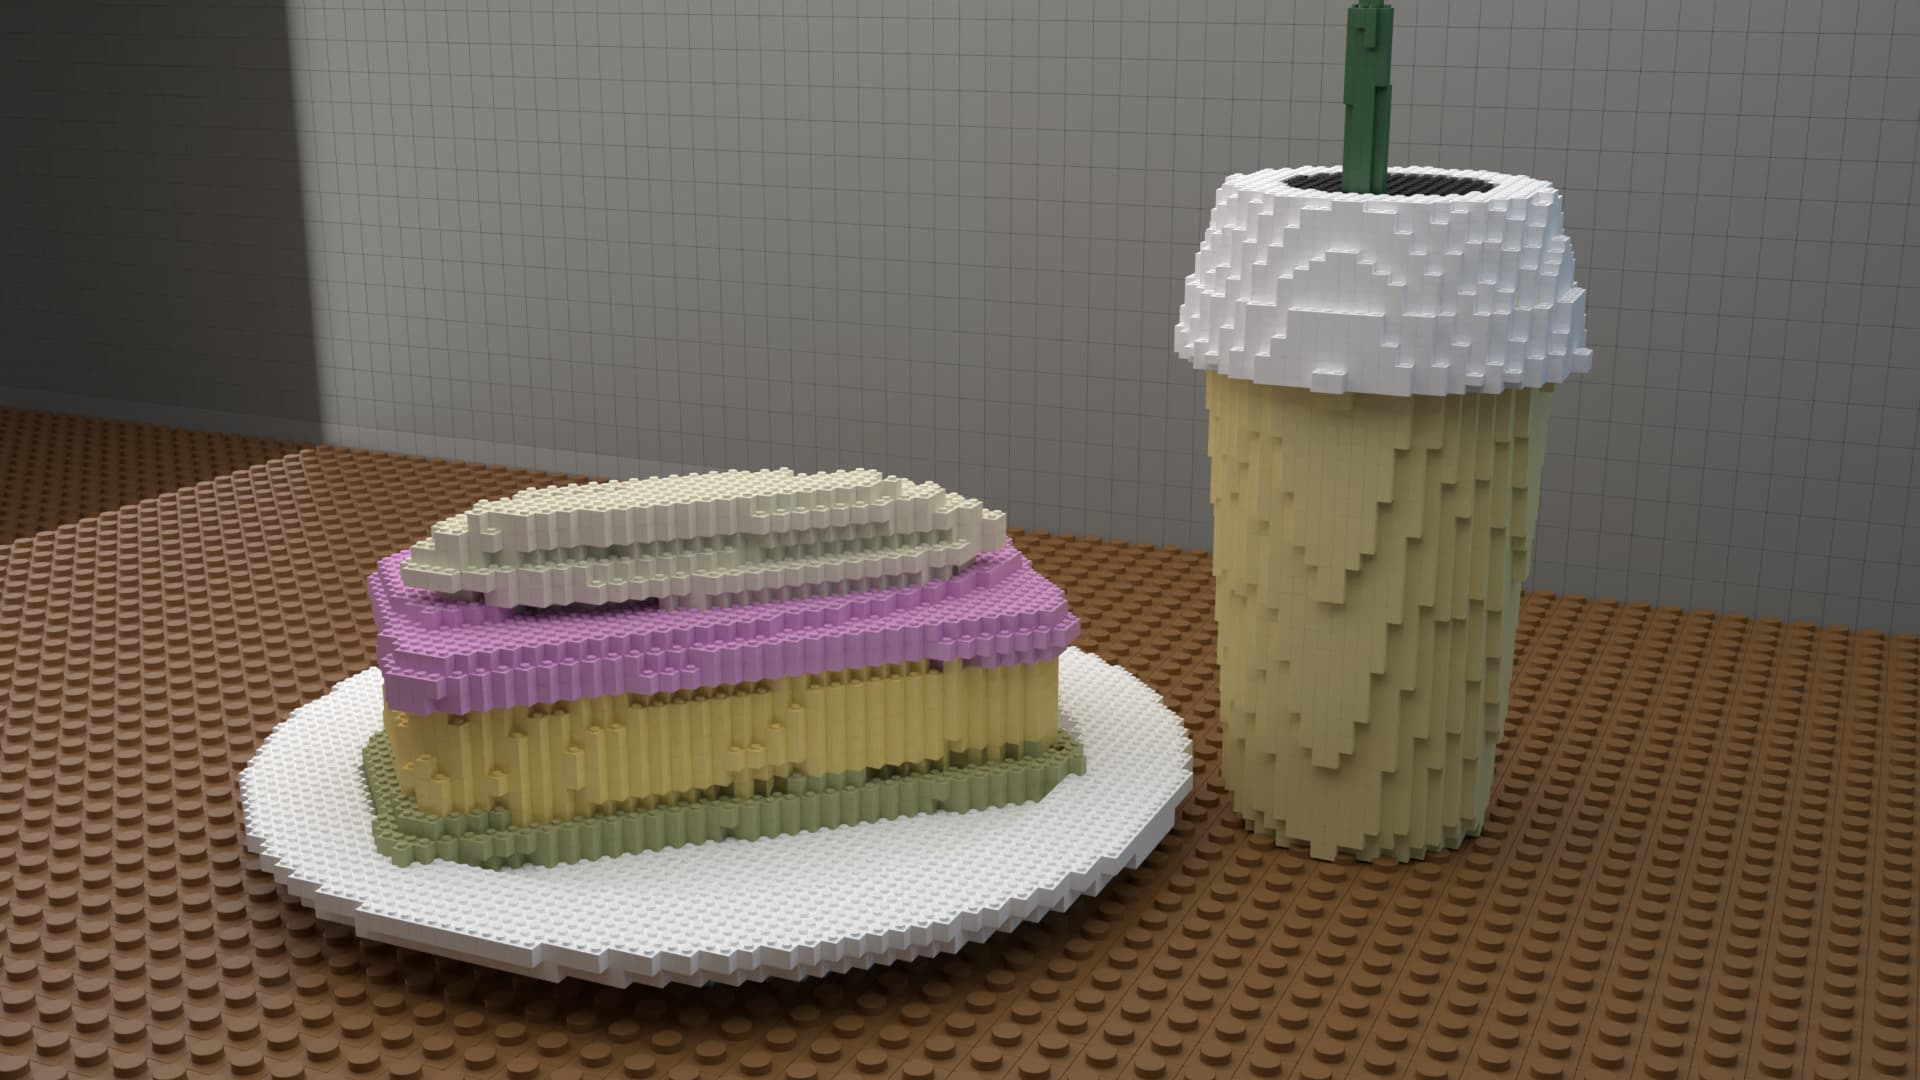
I created this geometry node with the help of a tutorial from Joey Carlino. Then I applied it on multiple projects I have previously worked on as well as a brand new project I made specifically for this node.

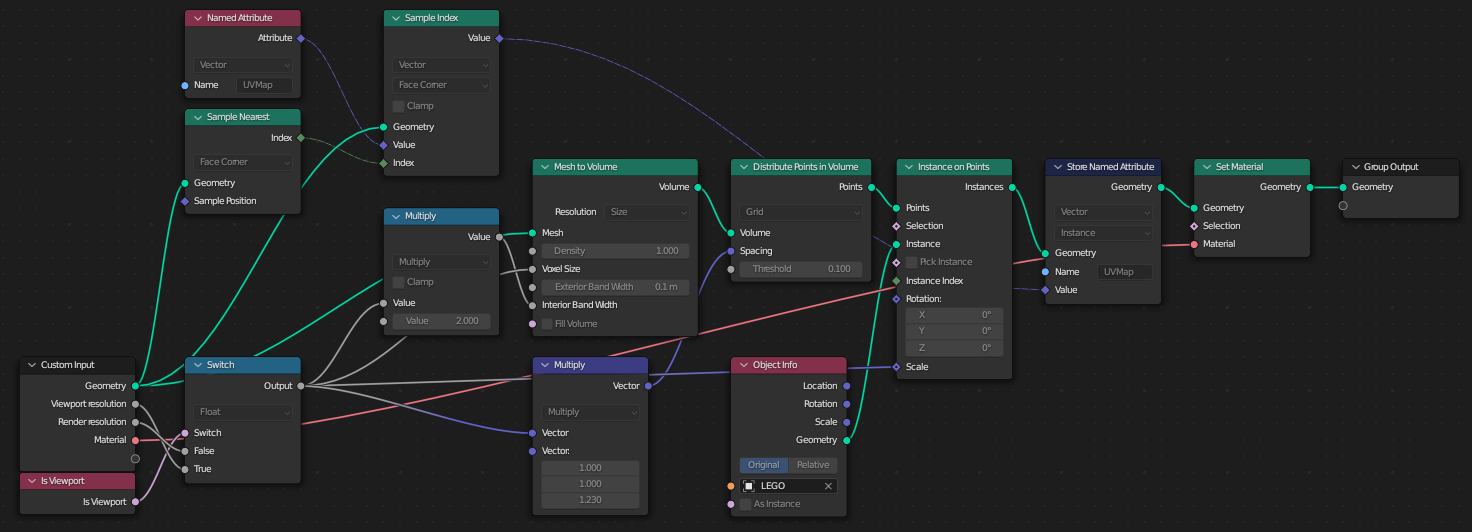
Lego Geometry Node Setup
The node setup

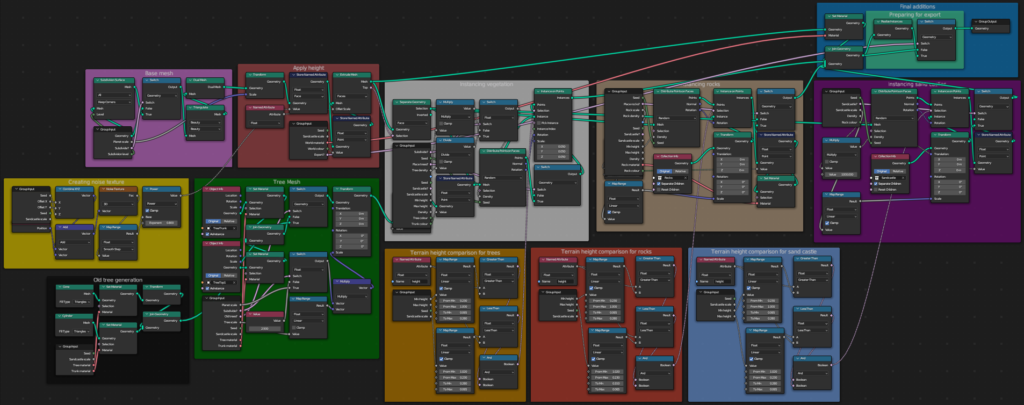
What I’m trying to do here is replace a certain amount of points in the mesh’s volume with lego blocks. Based on the variable quality there will be more points and thus more lego blocks. Then I’m applying the old UVs to see what color is nearest and applying said color on the brick.

Examples

Planet Generator Node

I created this geometry node after being inspired by this post on reddit. I then researched a few techniques and started working on this project. After about a week I finished and this is the end result.

The node setup

void

Examples

First-Person Simulator: Coffee Creator

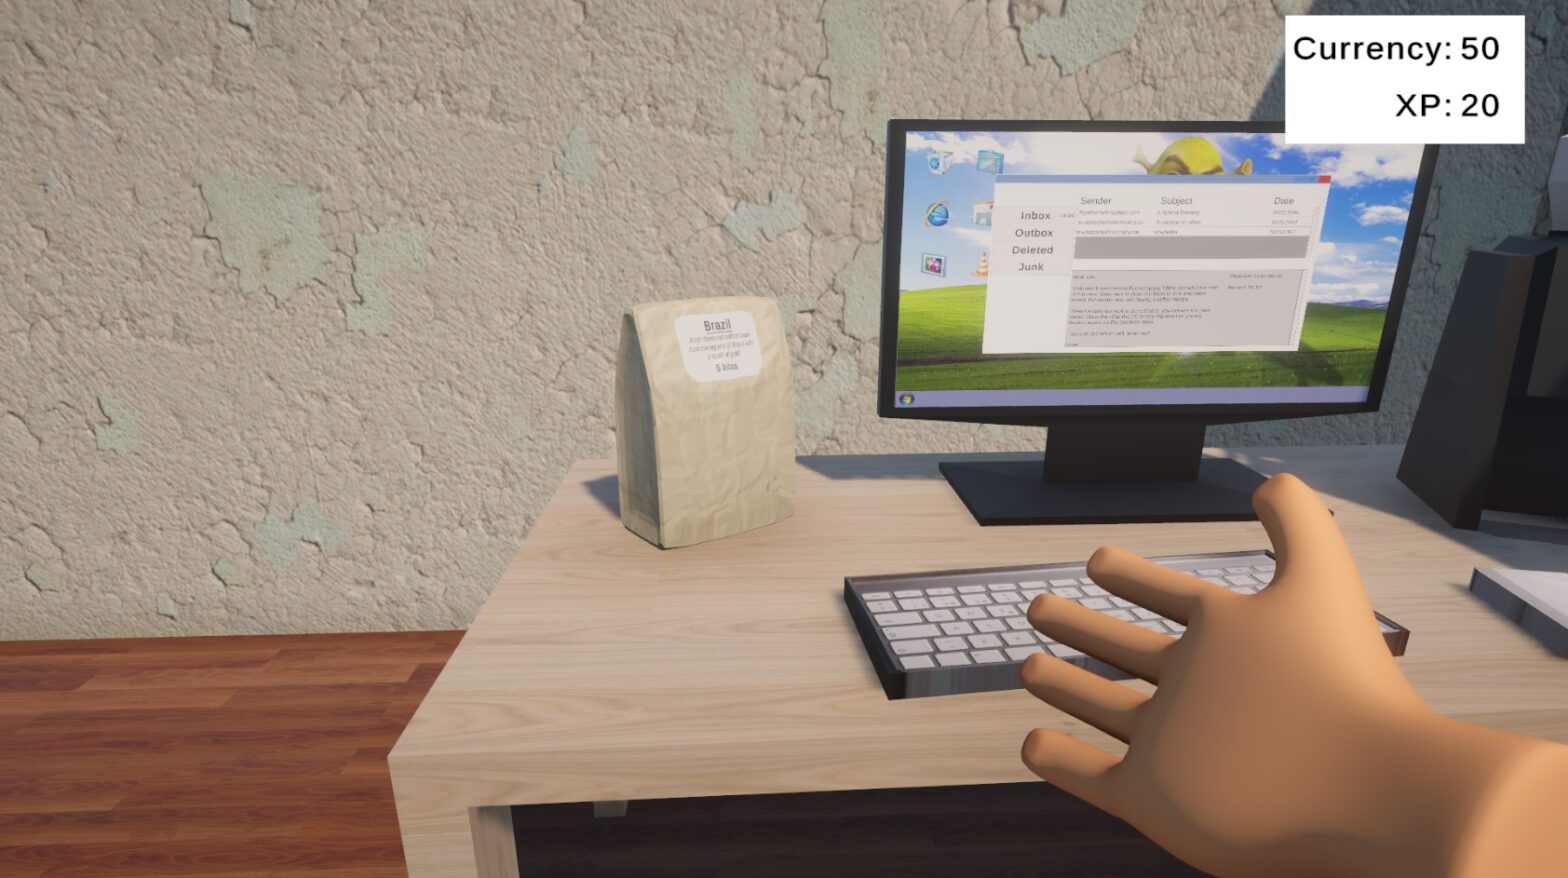
For the last month, I have been working on a first-person simulator in which you buy, roast, process, and sell coffee. To make this project successful I will be using my knowledge from my work experience and my love for coffee.

A big thing for this project is to make sure it works with both a mouse & keyboard as well as a controller. To do so I have used Unity’s new Input System.

The very basic movement uses both m&k as well as a controller.
When aiming at an interactable the prompt and name will be shown.
This computer will be the center to accept quests, obtain rewards and spend them in a shop.

After the basics were done it was time to start working on a quest system, my inspiration for this was PC Building Simulator in which you accept emails with quests, complete them and get your rewards.

The quest system with quest tracking, the active email (red text title) will be tracked.
The finished quest system, if all objectives are completed the player will be rewarded.

Obviously, this is nowhere near a finished game loop, I plan to implement a way of obtaining ‘raw’ coffee beans to roast them and pack them up as shown above soon. This would also give the currency an actual purpose.

Also I plan to implement a lot of user feedback soon as you currently don’t know if you actually completed the challenge other than the money coming in immediately.

Isometric Room: Bedroom In The Attic

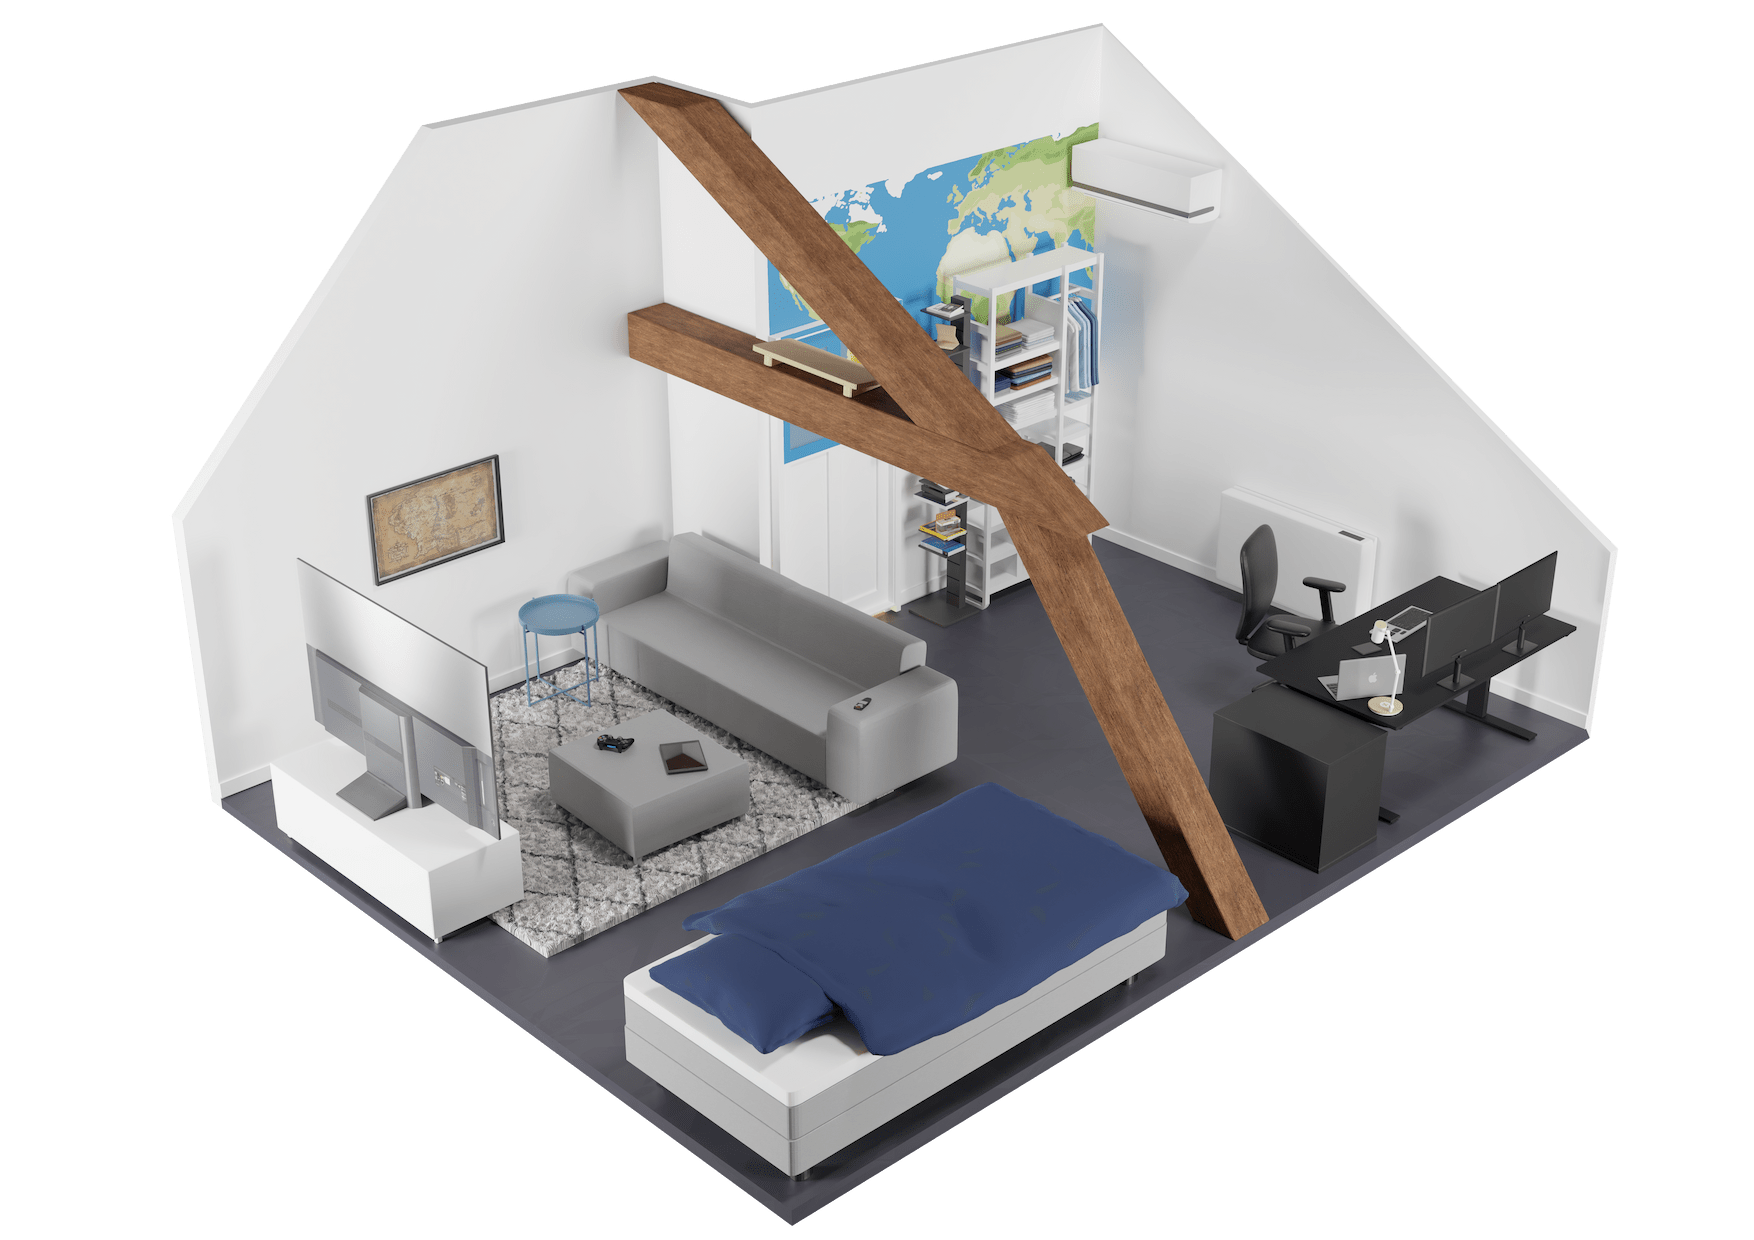
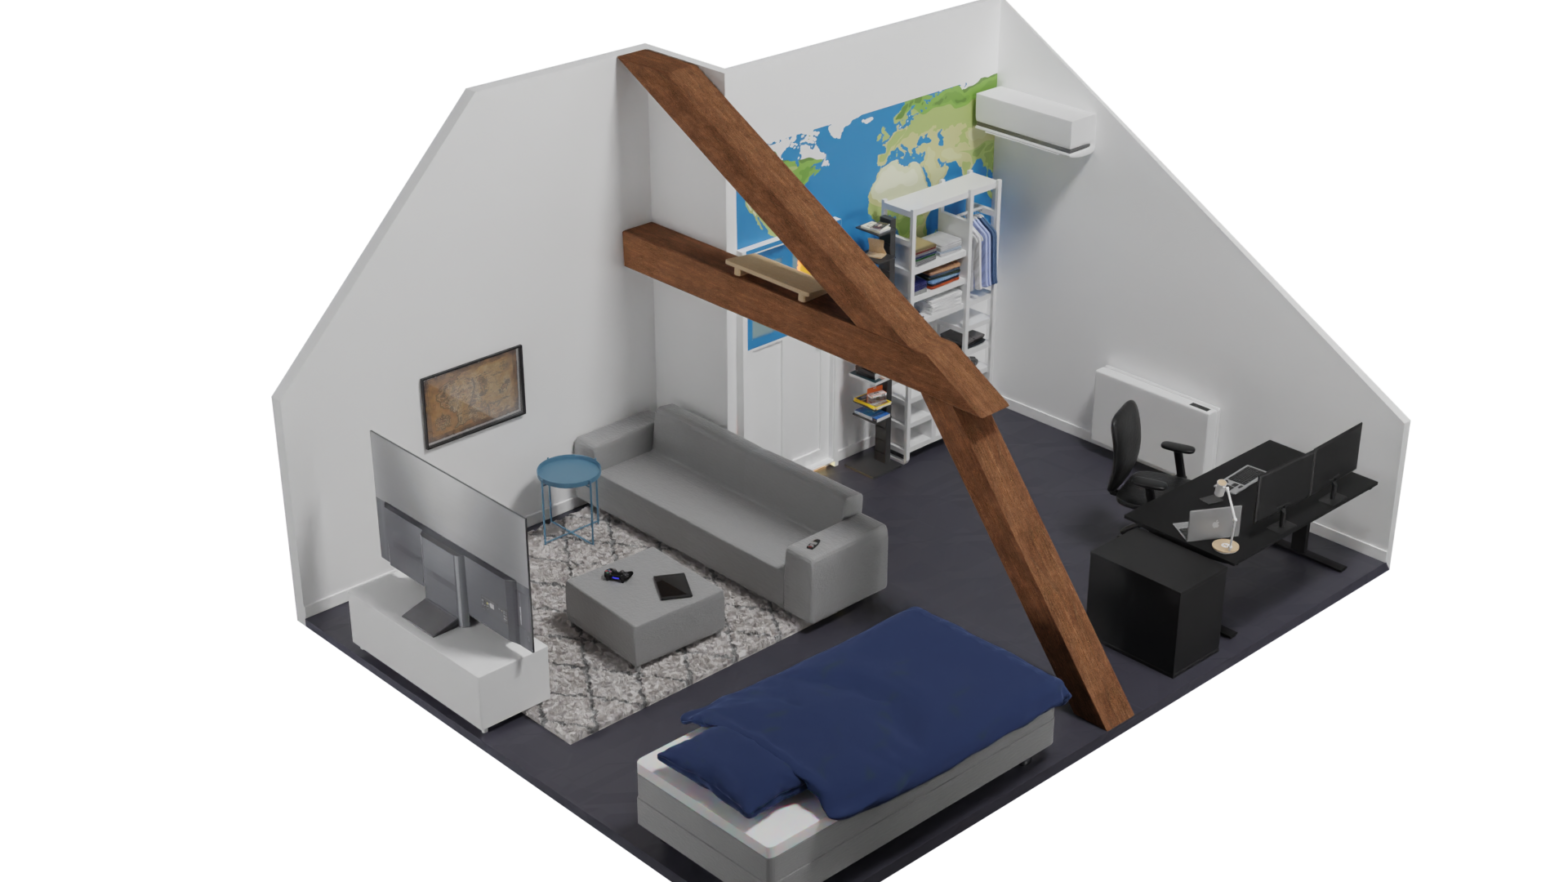
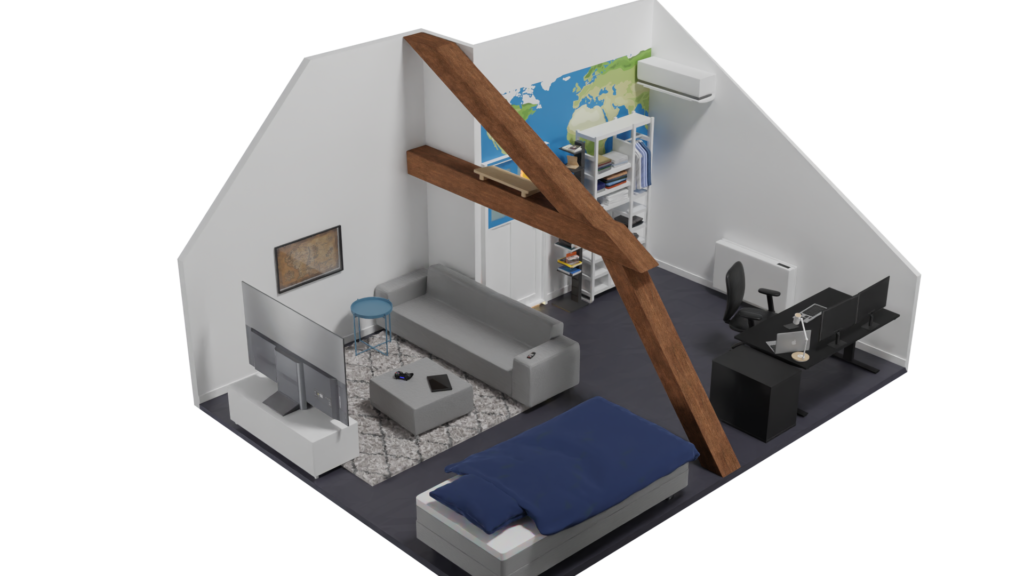
I’ve always wanted to try my hand at an isometric room design. This one got heavily inspired by one of our old bedrooms.

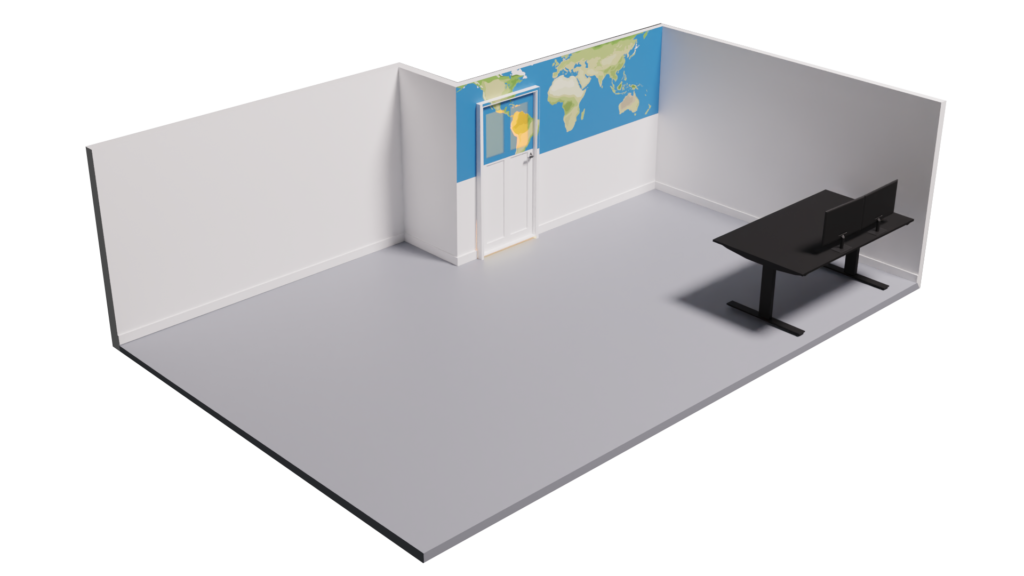
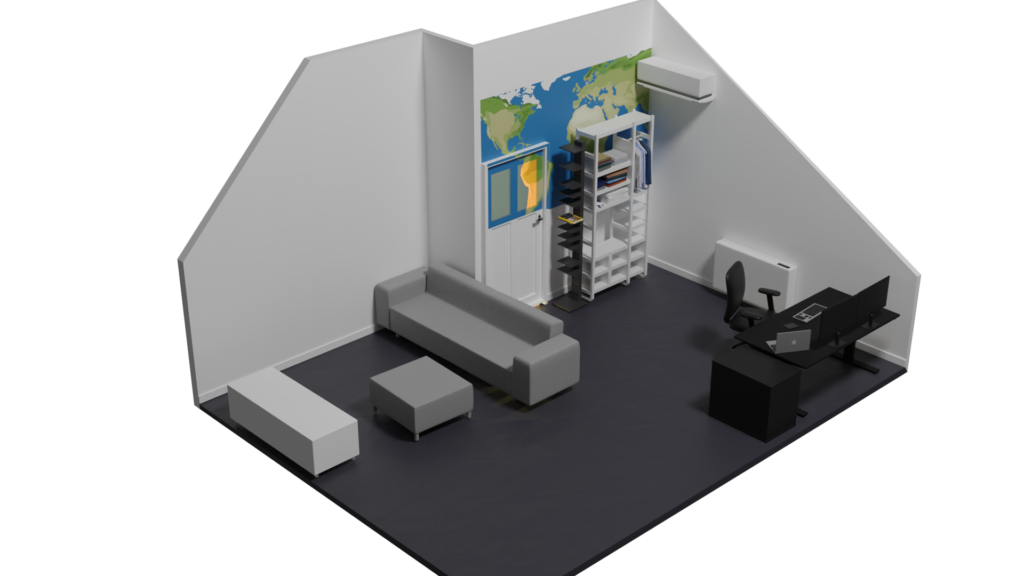
I started by creating mood boards using Pinterest. Then I followed a quick tutorial to get started and mostly went on my own from there. I worked on this project for several days, documenting the progress I had made at the end of each day, combined with rendering a final image for the day.

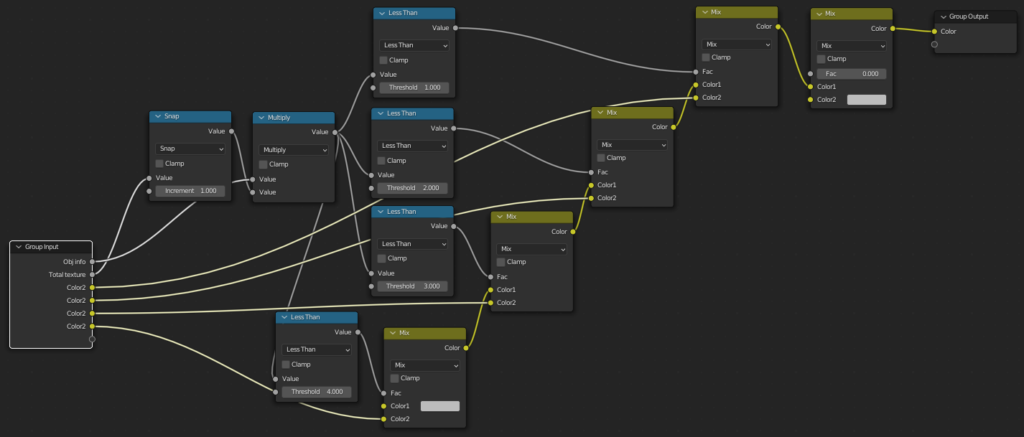
I also took the time to learn more about the material node system in Blender as I previously only used base colour- and normal maps.

After this project, I have learned how to add controlled randomness (for example for books or clothes) as well as use built-in textures to add relief to the floor for example.

An example of a node setup for a random book cover material.

Chicken Party Game: Eggsplosion

This game was created during a semester-long project in which I led the project and contributed with design and programming.

Eggsplosion is now on Steam! You can click the button down below to add the game to your library!

I have taken the lead role in this project since it started but even more so when we decided to put it up on Steam. Since then I have worked on the following things:

  • UI/UX programming and implementation
    • In-game pause menu
    • Options screen
    • Leaderboard UI handling
    • Various smaller improvements
  • Content creation
    • Gameplay trailer
    • Short video content (Tiktok, Instagram, Youtube shorts)
    • General social media (previous + Reddit, Twitter(X))
  • Steam
    • Store page
    • Game builds
    • Announcements
    • Steam Features
      • Steam Input
      • Steam Cloud
  • Project lead (and lead designer)
    • Keeping things on track
    • Managing a trello board
    • Version control
    • Communication with team
    • To-go for any issue
    • Game design

Now about the game, Eggsplosion is a local multiplayer fighting/party game in which you play as a chicken against chickens.

The gameplay is quick and short but a lot of fun. There are different powerups spawning around the various maps that can change your projectile type or give your character certain boosts.
Down below I will go into further detail regarding the design process and UI/UX and level design implementation.

The game/level design

Specifying our chosen concept
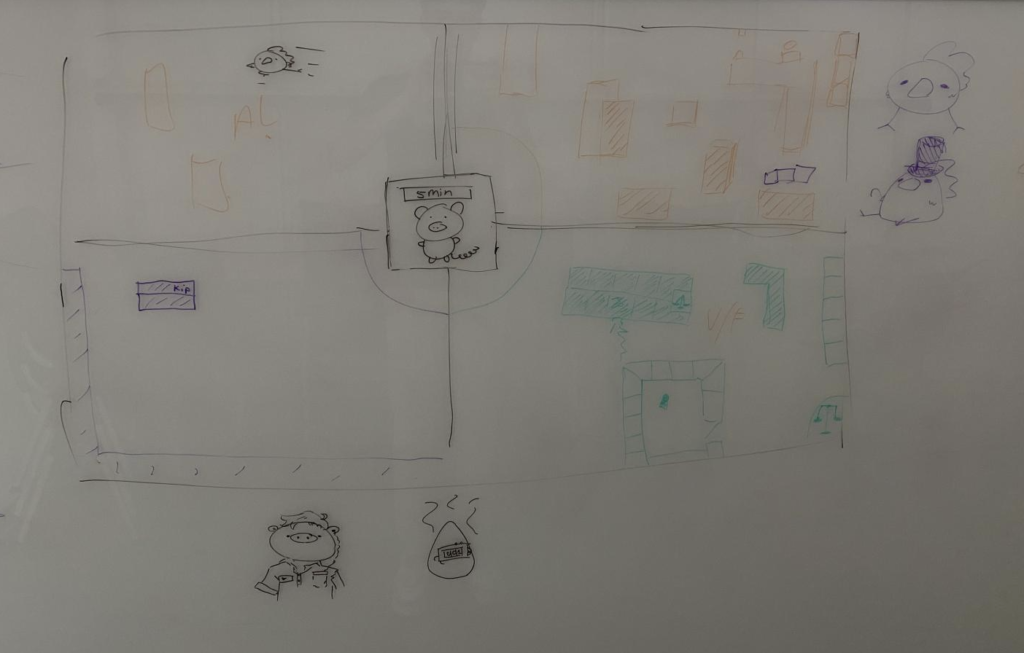
Sketching out the first level

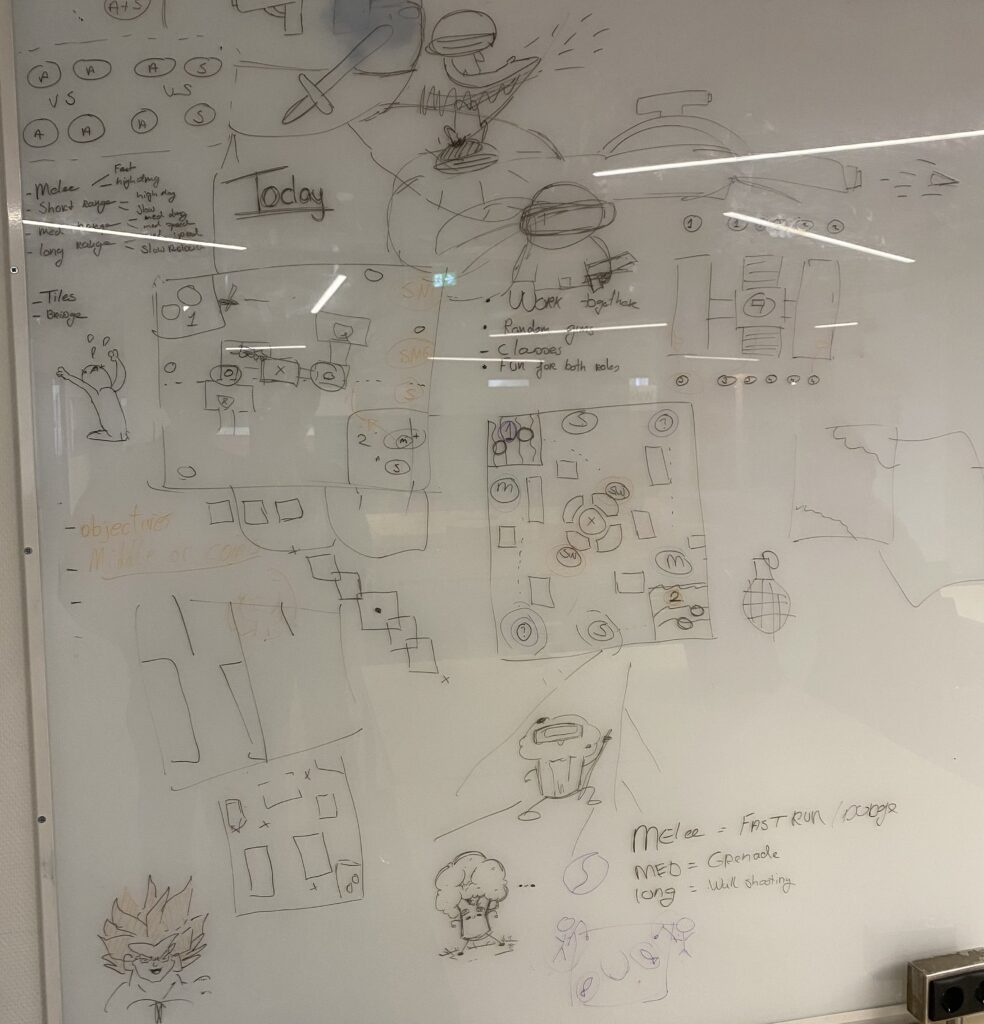
Our first brainstorm session

Coming up with the initial game concept

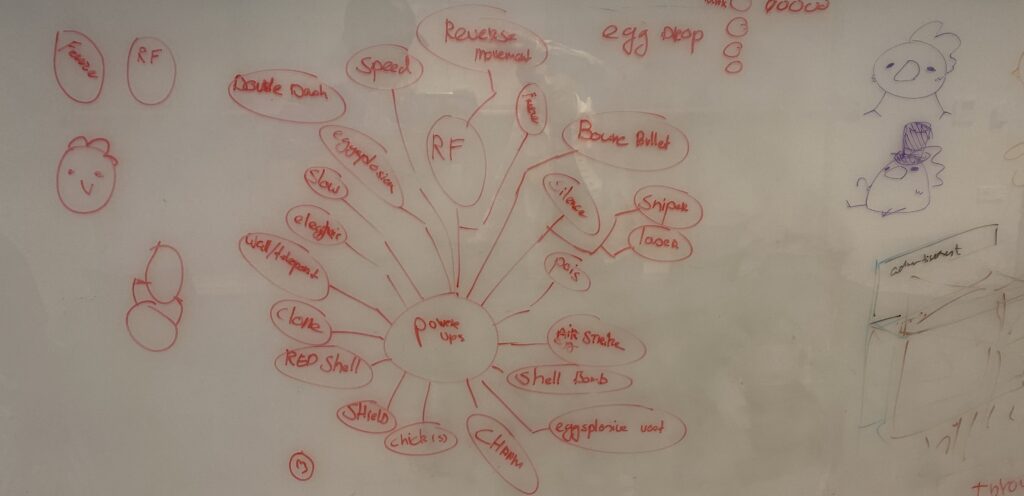
The powerup design

Brainstorming about powerups
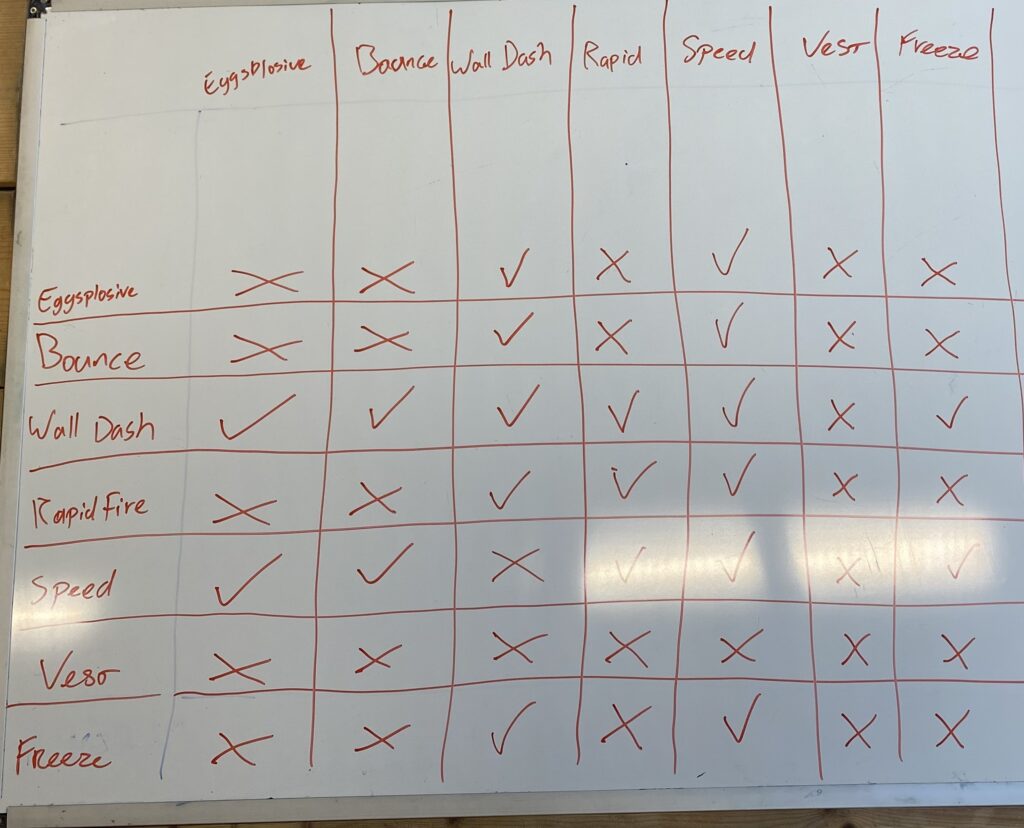
Prioritising and categorising the powerups
Combining powerups and balancing

These sketches and brainstorming documentation eventually led us to the first real prototype of which I, unfortunately, do not have footage.

I do have a before and after for the level I worked on

I also worked on the user experience which was not my best work but I have made major improvements since my first try, at the time I did not have any knowledge of Unity’s new input system which held me back a bit.

Since then I have tested and received feedback which resulted in some big improvements. The majority of the complaints were about bad menu flow or confusing things happening.

  1. There was no prompt indicating which button the player had to press to join the lobby.
  2. Also, the players had to navigate upward and click the buttons to raise the number of rounds. As our game is for controller only this was unnecessary and thus I removed it and replaced it with the shoulder buttons.
  3. I did the same for the ‘return’ button, this no longer has to be navigated to but instead the player can just press the east button on their controller.
  1. The navigation felt confusing and too responsive. To fix this I limited the navigation to the three main buttons on the left.
  2. I then opted to add button prompts and check for those inputs which would in turn invoke the button events instead.
  1. This screen was visible between rounds to show the current score. However, a lot of times the players clicked the quit button which instantly took them back to the main menu forfeiting their progress up to that point. This was really frustrating.
  2. I added button prompts and removed navigation, instead the player can continue with the usual south button (X) and can return with the usual return input (O).
  3. After clicking the east button there now is an extra prompt asking you to confirm to leave the game. For the protection of the player’s current progress.

After making these additions along with several others, I felt it was time to get this game up on an actual storefront so more people will get to play it.
I then set up a team meeting and the game has since been released on Steam! Check out the trailer below.